预计阅读时间为:8 分钟
前言
欢迎访问 Caifx 的个人博客。本文将介绍如何通过 Hexo,Github Page 和 Travis CI 来提升你的写作体验,让你更快更好的使用 Hexo,专注于写作过程
- Hexo:快速、简洁且高效的博客框架
- Github Page:用来部署你的博客网站,相当于服务器
- Travis CI:持续化构建工具,相当于有个机器人帮你完成一些固定的操作
本文环境配置
1 | node -v // v8.11.4 |
Github 配置
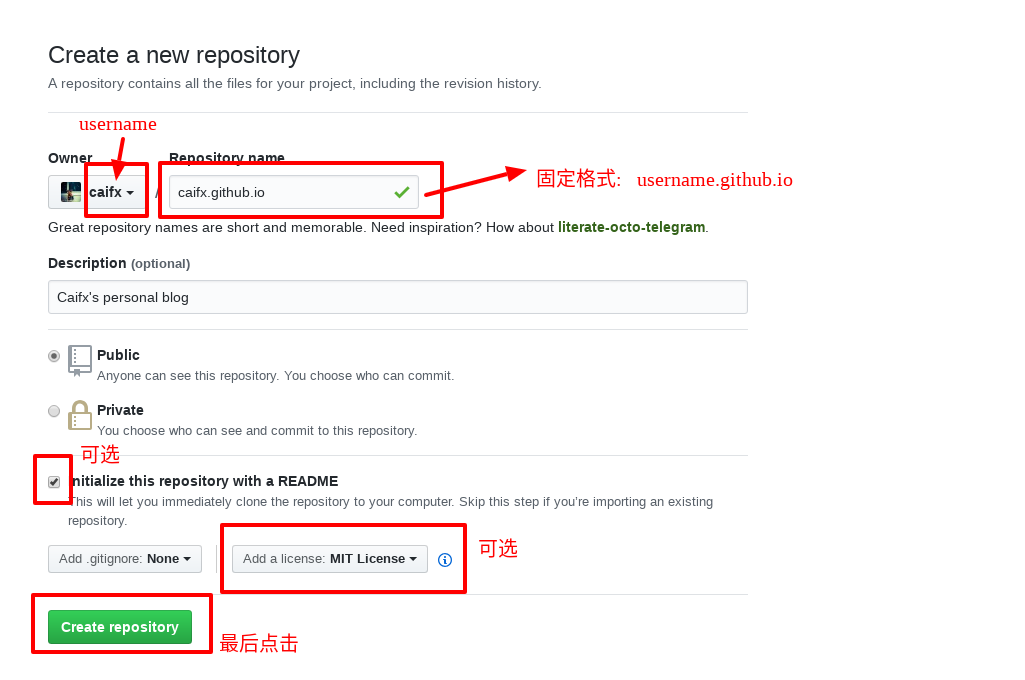
首先创建个人博客仓库
1. 登录 Github
2. 点击 “+” 号, 选择 “New Repository(新建仓库)”
3. 仓库名格式必须是: username.github.io
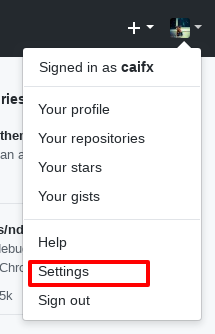
接着生成 Personal access tokens
1. 点击 Settings
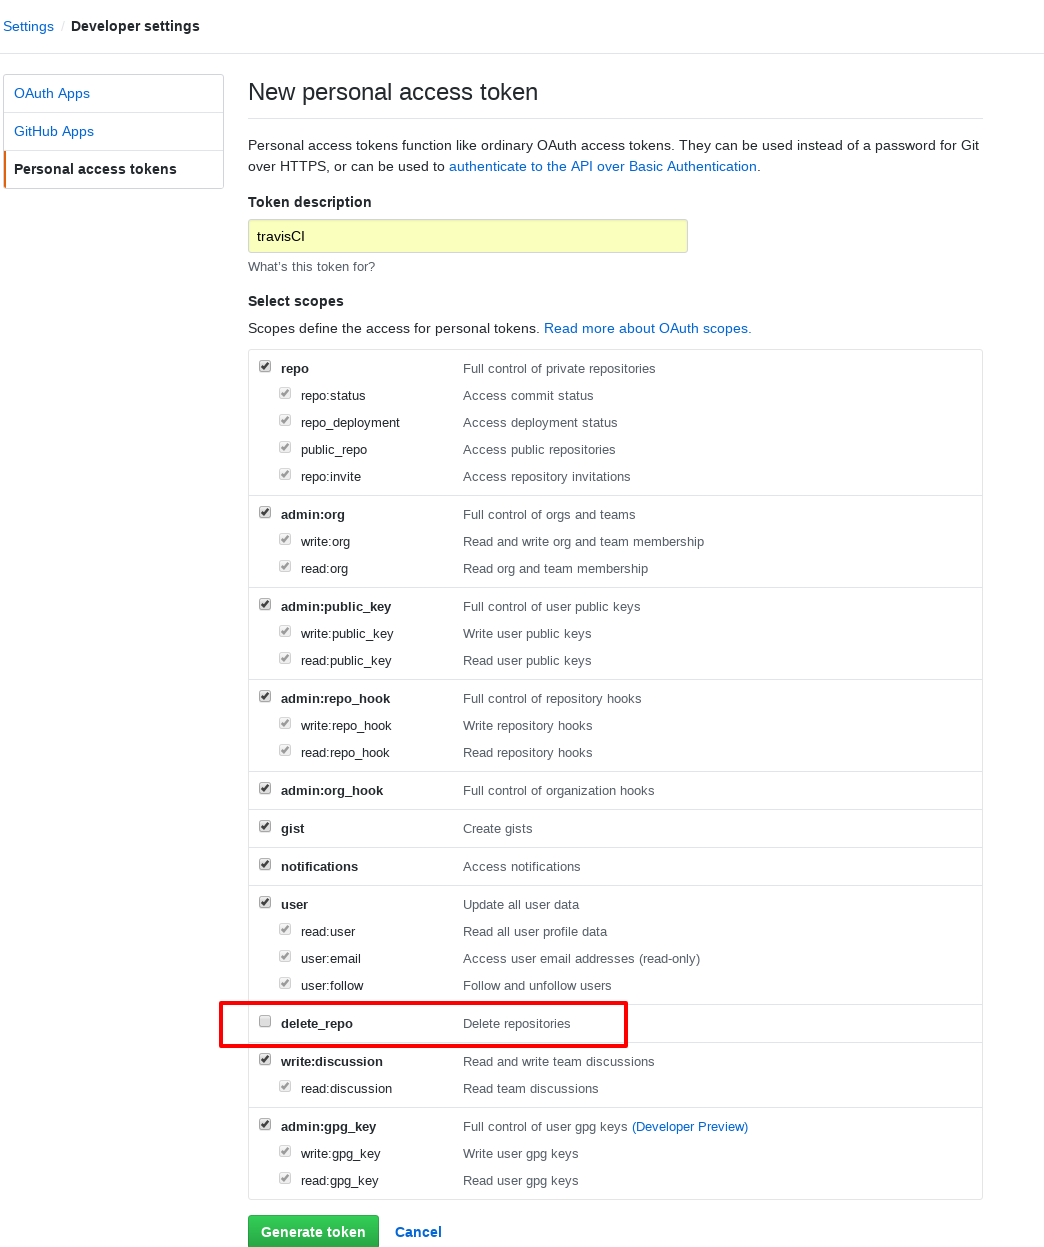
2. Developer settings > Personal access tokens > Generate new token
除了 delete_repo 没有勾选, 其他都勾选了. 最后一定要记下生成的秘钥, 下次就看不见了
Hexo 配置
1 | // 全局安装 Hexo CLI |
Travis CI 配置
1. 登录 Travis
2. 点击 Add New Repository
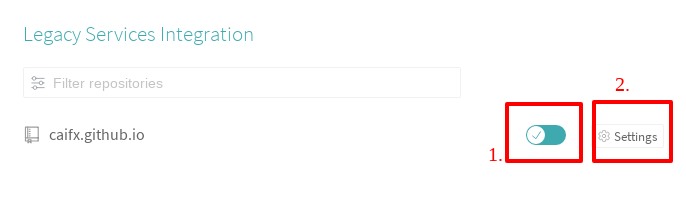
3. 打开 caifx.github.io 仓库的开关并点击 Settings
4. 配置 GH_TOKEN
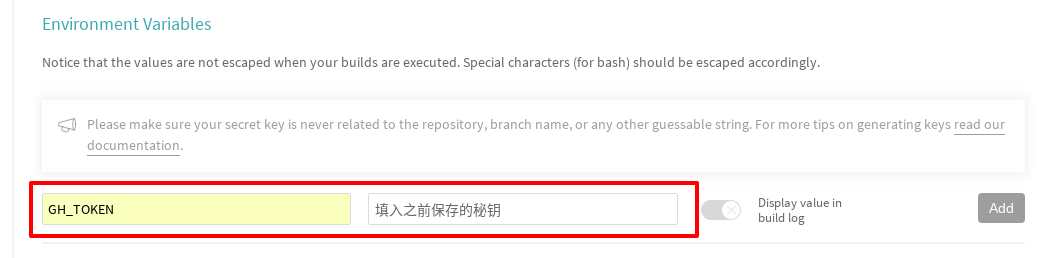
5. 配置 caifx.github.io/.travis.yml
没有这个文件,就新建一个
user.name, user.email, GH_REF 部分要修改成自己的信息
1 | # 指定语言环境 |
发布
最后,将 source 分支推送到 caifx.github.io 仓库上,Travis CI 就会根据 .travis.yml 的配置自动执行脚本。过几分钟后,前往 https://caifx.github.io/,即可查看到博客内容已经更新了
更多…
- Hexo 站点的配置和 Next 主题 的配置
- 学习 Git 的有关操作